The thumb gusset making
This is a little tutorial to make the thumb gusset on Estonian way.
Once the cuff–up to the wrist–is completed, it’s time to start the thumb gusset while continuing to knit the palm section of the mitt.
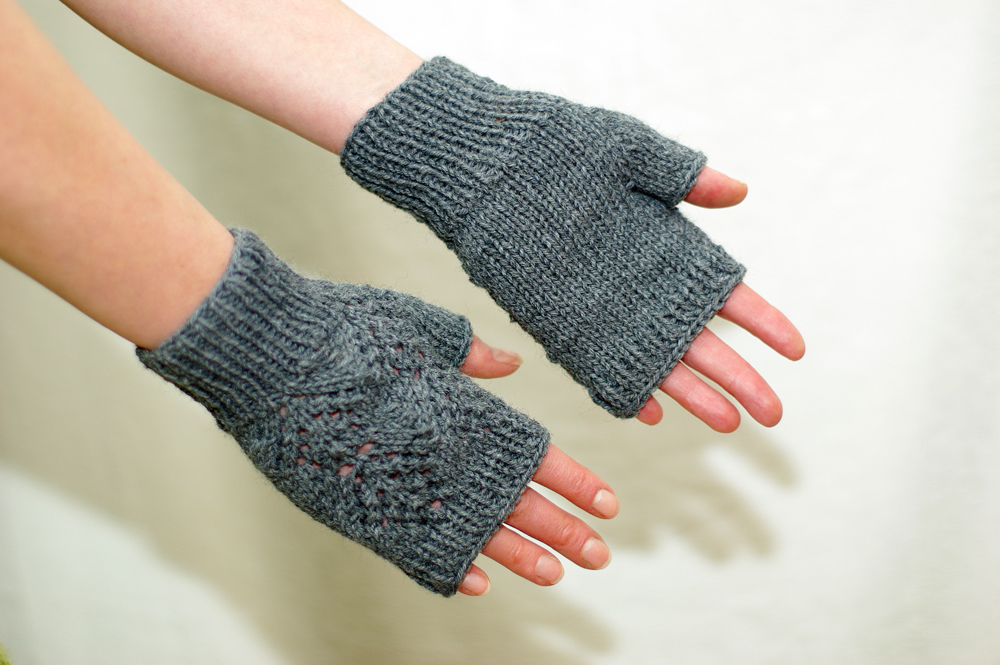
Take a look at your hand. It is not just a tube. Your thumb sort of sticks out a bit. For perfect fit we can make an extra little triangle to accommodate that part of your thumb.

To create this triangle we are going to work some increases. Starting with just 1 stitches between the markers. I increase two thumb stitches every other row and you should start to see a little triangle forming.
The increases I use are Make 1 Right (M1R) (I suggest knit it out the next sts) and Make 1 Left (M1L) (I knit it out the previous sts).

If the mitte cuff is ready, you can start meking the thumb gusset. Normally I used the size 4 mm /UK6/ UK 8 needles and then I have to do 11 gusset sts.
The Thumb Hole making – Right Mitt
R – round
K – knit
M1R – make 1 right
M1L – make 1 left
R1: k1, M1R, k1, M1L, k
R2: k
R3: k1, M1R, k3, M1L, k
R4: k
R5: k1, M1R, k5, M1L, k
R6: k
R7: k1, M1R, k7, M1L, k
R8: k
R9: k1, M1R, k9, M1L, k
R10: k
R11: k, Thread some yarn on your needle. Run the needle through all of the thumb stitches. Next cast on 1 stitches in the middle of the row. Knit.
The thumb gusset is ready.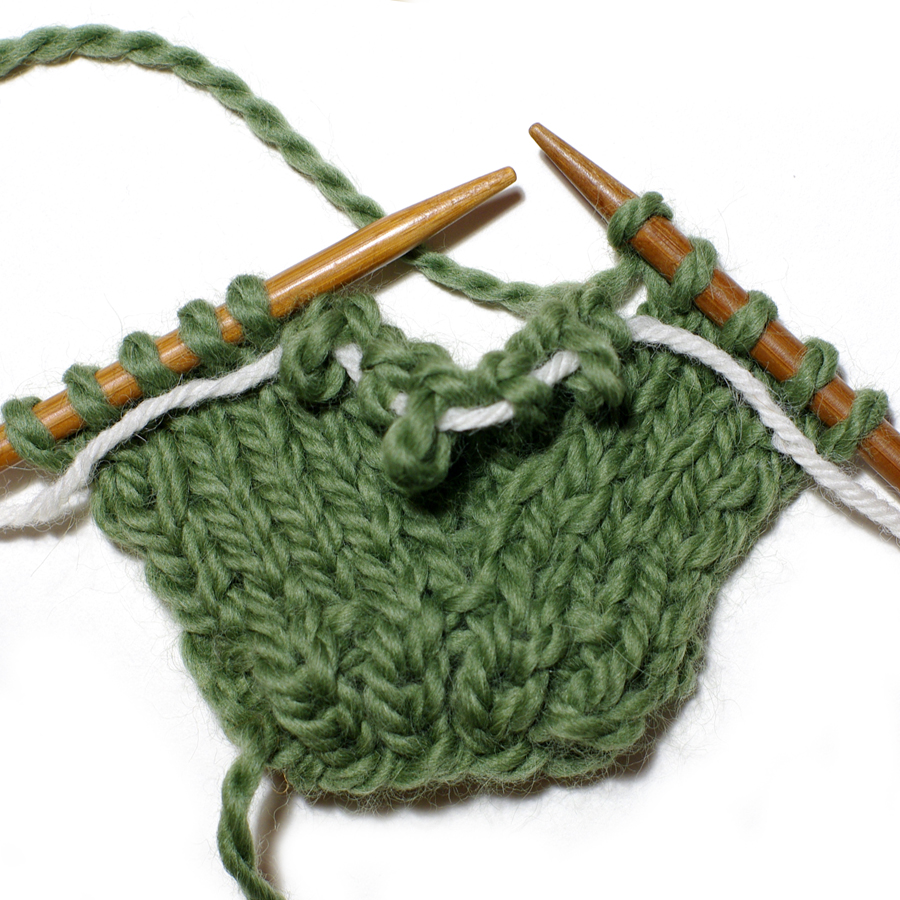
The Thumb making
Place 11 held sts back on needles.
Pick up 1 cast on sts and 2 sts both side of these, together 5 sts.
Knit 5 rounds. Cast off.
